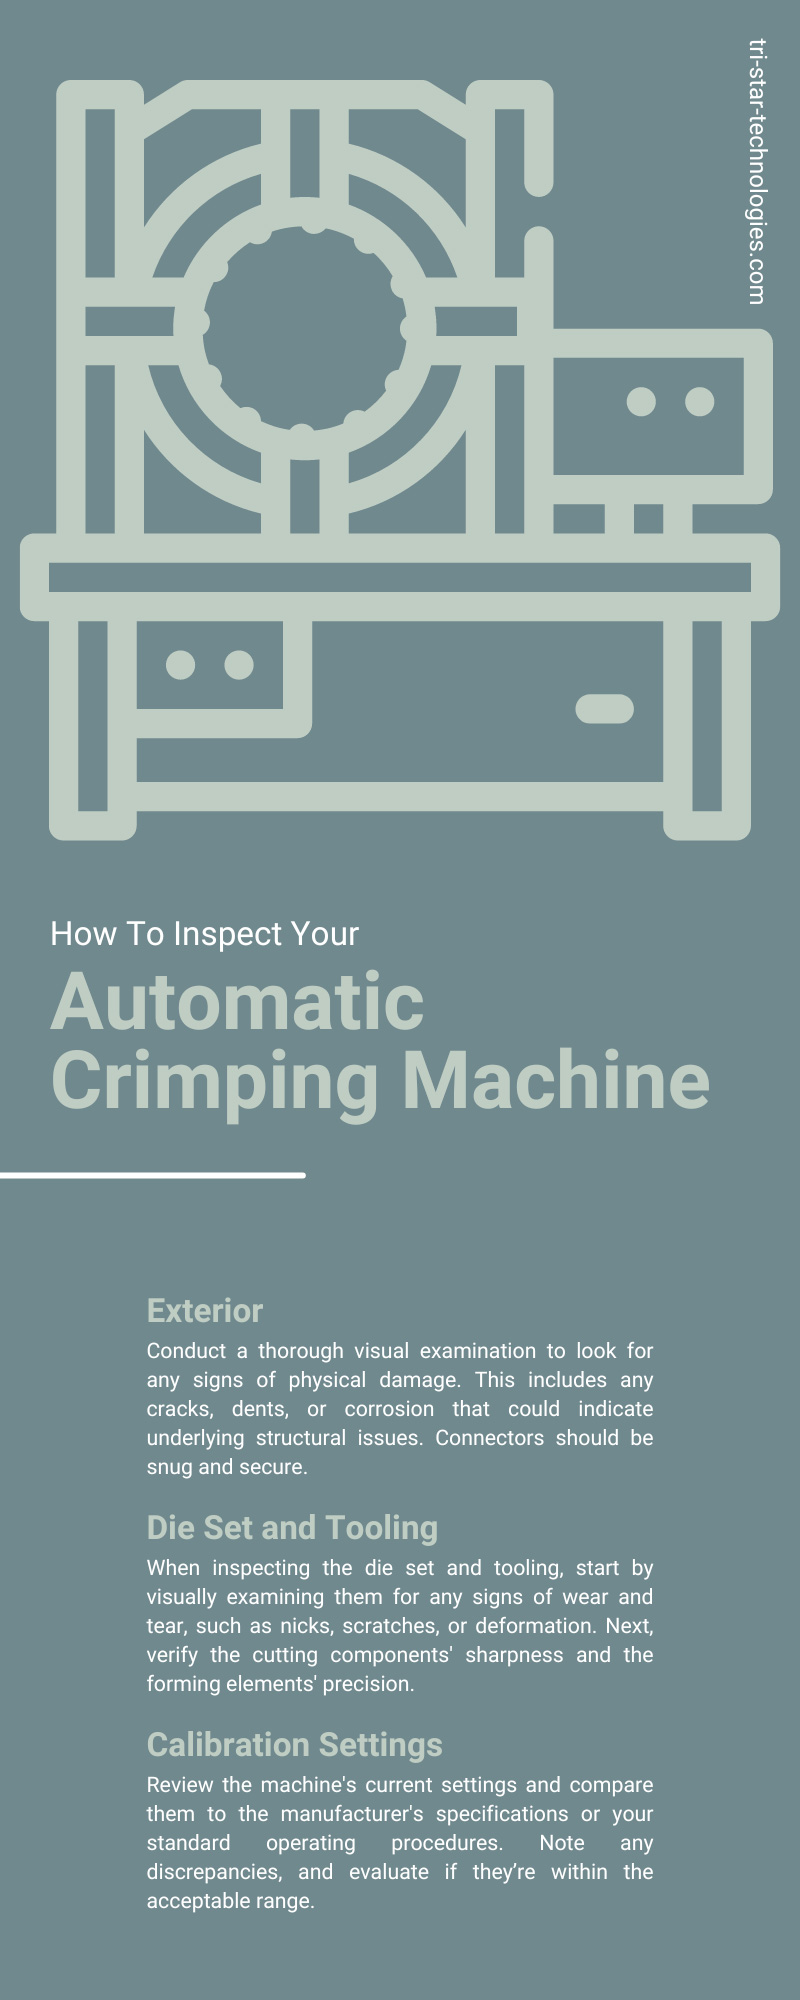

How To Inspect Your Automatic Crimping Machine
As a manufacturer in the industry, it’s crucial to ensure that your automatic crimping machine is functioning at its best. Regular inspections are necessary to catch any potential issues and prevent costly breakdowns. Below, we’ll discuss the importance of these inspections and offer tips on how to inspect your automatic crimping machine inside and out.
Inspect Often
Frequent inspections are indispensable to your automatic crimping machine’s optimal performance and longevity. Regular scrutiny helps pinpoint wear and tear or mechanical malfunctions that might go unnoticed during daily operations. These could include minor issues like loose fittings or more serious complications like calibration discrepancies. By catching these problems early, frequent inspections mitigate the risk of the machine breaking down entirely, thus preventing costly downtime.
Furthermore, regular inspections ensure the machine’s output meets the quality standards consistently. This proactive approach ultimately extends the lifespan of your crimping machine while ensuring your production line’s efficiency and reliability.
Allow Only Trained Operators To Inspect
Only authorized and trained operators should inspect the automatic crimping machine. This is because these machines are highly specialized pieces of equipment with intricate mechanisms that require knowledge and expertise to handle. Untrained individuals may fail to identify potential issues accurately and risk causing accidental damage. Moreover, trained operators possess the necessary skills to conduct the inspections properly and safely, thus preventing any workplace accidents.
Always Document Inspections
Documenting inspections is a vital part of the maintenance process for your automatic crimping machine. A record of each inspection serves as a written history of the machine’s performance, providing invaluable data to identify recurring issues, analyze trends, and predict potential problems before they escalate. Inspection logs are also important for compliance purposes, demonstrating to regulatory authorities that your machine meets industry standards.
During each inspection, operators should document numerous aspects of the machine. This includes the date and time of inspection, the operator’s name, and any changes in the machine’s functioning since the last inspection. They should also log specific details about the parts inspected, such as the die set and tooling condition, calibration settings, and the status of cables, switches, and connectors. Noting any adjustments made or repairs needed is equally essential. Moreover, documenting the results of quality control tests can provide a clear picture of the machine’s performance over time.
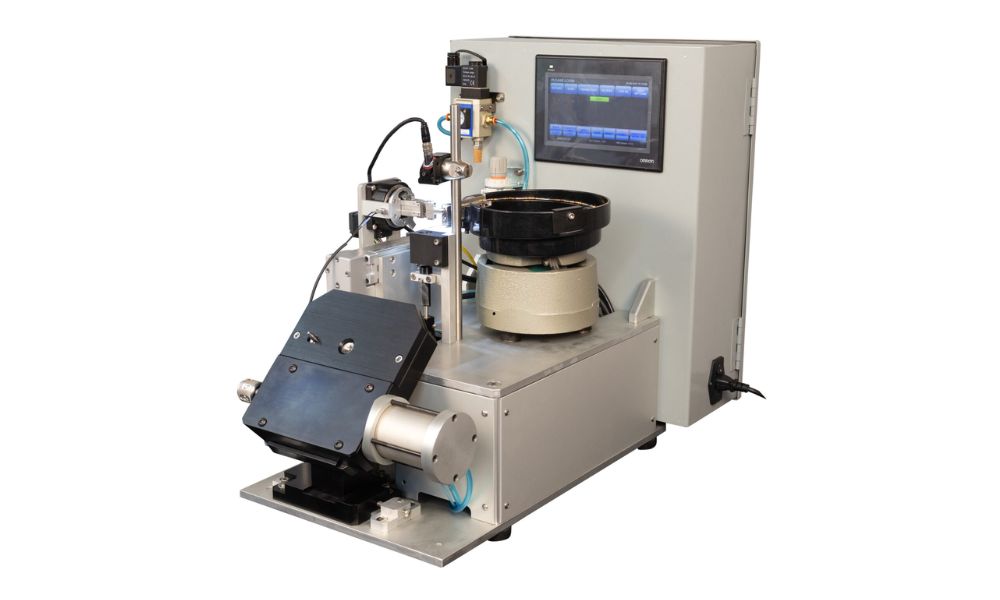
What To Inspect in an Automatic Crimper
We’ve covered the importance of inspections. Now, we’ll show you how to inspect your automatic crimping machine and the critical components that deserve attention. These include the die set and tooling, calibration settings, cables, switches, and connectors. Understanding the function of these components and knowing what signs of wear or malfunctions to look for is essential in effective inspections.
Exterior
Inspecting the exterior of your automatic crimping machine is an essential first step. Conduct a thorough visual examination to look for any signs of physical damage. This includes any cracks, dents, or corrosion that could indicate underlying structural issues. Connectors should be snug and secure.
If you observe any discoloration or burn marks, especially around the electrical components, this could signal a potential fire hazard. Remember—even minor exterior damage can lead to significant problems if not addressed promptly. Therefore, it’s crucial to regularly inspect your automatic crimper for physical exterior damage and rectify any issues immediately to ensure optimal operation and longevity.
Die Set and Tooling
An automatic crimping machine’s die set and tooling play a fundamental role in the crimping process. The die set, composed of male and female halves, shapes the terminal or connector around the wire, creating a firm and reliable crimp. The tooling, on the other hand, includes all the components that enable the machine to handle different wire sizes and types and accurately direct the wire into the die set.
When inspecting the die set and tooling, start by visually examining them for any signs of wear and tear, such as nicks, scratches, or deformation. Next, verify the cutting components’ sharpness and the forming elements’ precision. You should also check for cleanliness. Buildups of material, such as metal dust or lubricant, can affect the machine’s operation and the quality of crimps.
Calibration Settings
The calibration settings of an automatic crimping machine are pivotal for ensuring the accuracy and precision of crimping operations. They regulate the machine’s functionality to align with the type of wire, terminal, and crimping die used. This includes settings for crimp height, crimp force, and wire positioning.
Review the machine’s current settings and compare them to the manufacturer’s specifications or your standard operating procedures. Note any discrepancies, and evaluate if they’re within the acceptable range. You can measure the crimp force using a crimp monitor to ensure it adheres to the prescribed guidelines. You can inspect crimp height using a micrometer to measure the height of a crimped terminal, cross-referencing this against the manufacturer’s specifications.
Cables, Switches, and Connectors
Cables, switches, and connectors of an automatic crimping machine are crucial elements that ensure seamless electrical and data transmission. When inspecting these components, look for any visible signs of damage, such as fraying, loose connections, or burn marks, that might suggest an electrical issue. Ensure the cables have secure connections and aren’t straining or bending too much, which could cause internal wire breakage. Switches should function smoothly without resistance, and connectors should sit firmly without any signs of looseness or corrosion.
Check for proper voltage and continuity in the cables and switches using a multimeter. Irregularities in these measurements could indicate underlying electrical problems. Always promptly replace damaged cables, switches, or connectors to avoid potential machine malfunctions or safety hazards.
Conduct Quality-Control Tests for Automatic Crimpers
Conducting quality-control tests is an integral part of the inspection process for automatic crimpers. These tests ensure that the crimping machine produces high-quality crimps that meet industry standards, thereby safeguarding the reliability and integrity of your product.
A common quality control test is the “pull test,” which involves pulling a crimped wire with a determined force to check its tensile strength. This verifies the mechanical strength of the crimp and ensures the crimped terminal can withstand the physical stresses of its intended application. Other QC tests include measuring the crimp height and width to confirm that they align with the specified parameters. Regularly administering such tests helps maintain the crimper’s performance and significantly reduces the risk of product failure or recalls.
Invest in a High-Quality Automatic Crimper at Tri-Star Technologies
If you need a replacement automatic crimp tool, Tri-Star Technologies is the place to go. We engineer our high-quality and durable automatic crimpers to deliver high-quality and consistent functioning for many years. Shop our selection, or contact our staff to learn more about our automatic crimping machines.