

How To Calibrate Automatic Crimping Machines for Consistency
In high-stakes sectors like aerospace and medical device manufacturing, precision in wire processing is a non-negotiable requirement for operational safety. Automatic crimping machines offer significant speed, but their reliability depends entirely on rigorous calibration to prevent signal loss or mechanical failure.
This process involves precisely adjusting crimp height and force to align with manufacturer specifications, verifying that every terminal meets strict industry standards. Below, we show you how to calibrate automatic crimping machines for consistency.
Introduction to Automatic Crimping Machines
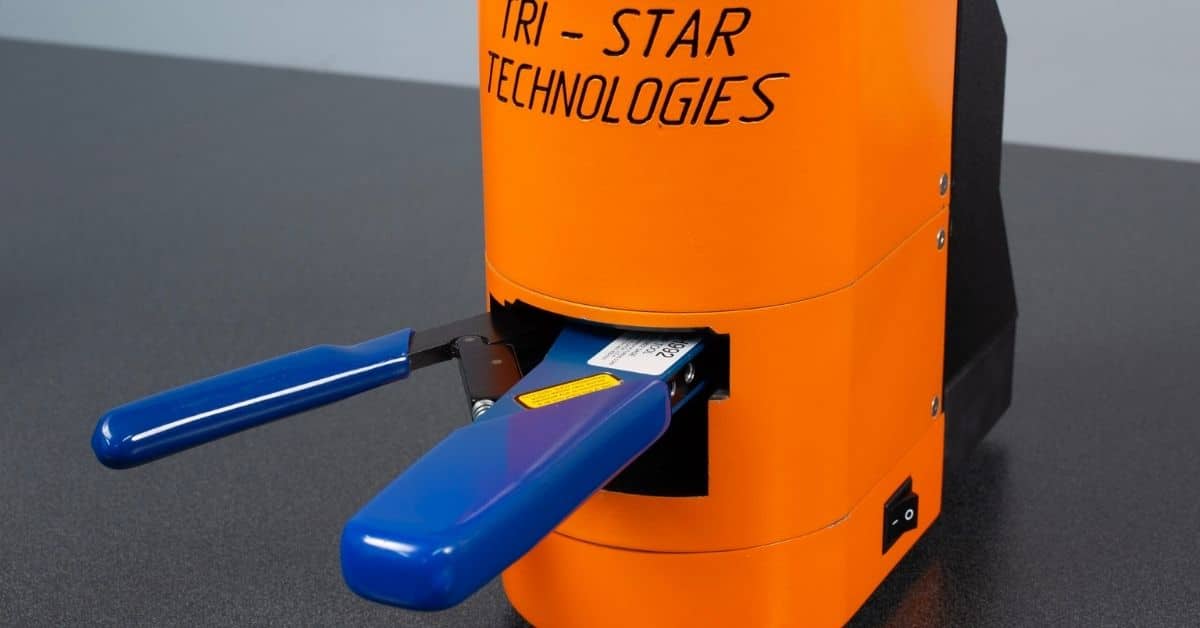
An automatic crimper is a special device that joins a wire to a metal terminal or contact by deforming the metal around the wire. Unlike manual tools, which rely on the operator’s hand strength and consistency, automatic machines utilize electric, pneumatic, or hydraulic power to deliver a specific amount of force. This automation allows for high-volume production, significantly reducing the time necessary to process wire harnesses and cable assemblies.
However, the primary purpose of automatic crimping machines extends beyond speed; it is about repeatability. In a production run of thousands of wires, the first crimp must look and perform exactly like the last. This consistency is vital for electrical conductivity and mechanical strength. Calibration keeps the machine’s components—such as the indenters, positioners, and feed mechanisms—in perfect synchronicity to deliver this uniformity.
Why Consistent Calibration Matters
The impact of calibration extends far beyond the physical appearance of the crimp. It touches every aspect of the manufacturing process, from the bottom line to end-user safety.
Quality Control and Reliability
Quality control relies on predictable outcomes. A calibrated machine produces crimps that fall within a tight tolerance window regarding crimp height and pull-force strength. This predictability allows quality control teams to trust the output.
When machines drift out of calibration, the “bell curve” of production quality widens, leading to more outliers and rejected parts. Consistent calibration keeps the electrical resistance across the connection low and stable, preventing overheating and signal degradation.
Cost Savings by Reducing Errors and Waste
Scrap is a silent profit killer in manufacturing. Incorrectly crimped contacts mean discarding both the contact and the prepared wire. In applications using expensive gold-plated contacts or special aerospace-grade wire, this waste accumulates rapidly.
Moreover, the cost of rework is significantly higher than the cost of doing it right the first time. By maintaining strict calibration schedules, manufacturers reduce the rate of material waste and the labor hours spent fixing errors.
Safeguarding Safety and Compliance
In sectors like aerospace and defense, compliance is not optional. Military specifications and ISO standards require evidence of equipment maintenance and calibration. A failure to calibrate can cause non-compliance, which means failed audits or, worse, the failure of a component in the field.
A crimp failure in an automotive braking system or an aircraft control surface can have life-threatening consequences. Calibration is the primary defense against these risks, guaranteeing that every connection can withstand the mechanical and electrical stresses it will encounter during its service life.
Step-by-Step Guide to Calibrating Automatic Crimping Machines
Now that we understand the importance of calibration, how do you calibrate an automatic crimping machine for consistency? While specific steps may vary slightly between models, the fundamental principles remain the same.
Preparation and Safety Measures
Before touching the machine, safety must be the priority. Disconnect the machine from its power source and any pneumatic supplies to prevent accidental activation. Clear the workspace of debris and provide adequate lighting. Review the machine’s manual for specific safety warnings and lockout/tagout procedures. Gather the necessary documentation, including the contact manufacturer’s crimp specifications and the machine’s previous calibration records.
Tools and Equipment Needed
Precise crimper calibration requires precise tools. Tools and equipment you’ll typically need for a calibration include:
- Micrometers or Crimp Height Comparators: For measuring crimp height with high accuracy.
- Pull Testers: To verify the mechanical strength of the crimp.
- Go/No-Go Gauges: specifically for the indenter configuration of the machine.
- Magnifying Glass or Microscope: For visual inspection of the crimp and wire strands.
- Standard Hand Tools: Hex keys, wrenches, and screwdrivers for making mechanical adjustments.
The Calibration Process
Now, we can finally get to the calibration process. Follow each step carefully to avoid damaging the machine.
- Visual Inspection: Check the indenters and feed mechanism for wear or damage. You cannot calibrate worn tooling; only replace it.
- Zeroing the Tooling: Adjust the crimp depth setting to the manufacturer’s specific zero point. This brings the indenters close to the correct diameter.
- Feed Adjustment: For machines with vibratory bowls, confirm that the contacts feed smoothly into the crimping position. Misalignment here causes bent contacts.
- Wire Position: Adjust the wire stop to verify that the wire inserts to the correct depth. The insulation should butt up against the contact without entering the wire barrel, and the conductor should be visible in the inspection window.
- Crimp Cycle Test: Perform a manual cycle (if the machine allows) to confirm that the motion is smooth and the tooling aligns perfectly with the contact.
Testing and Verification Methods
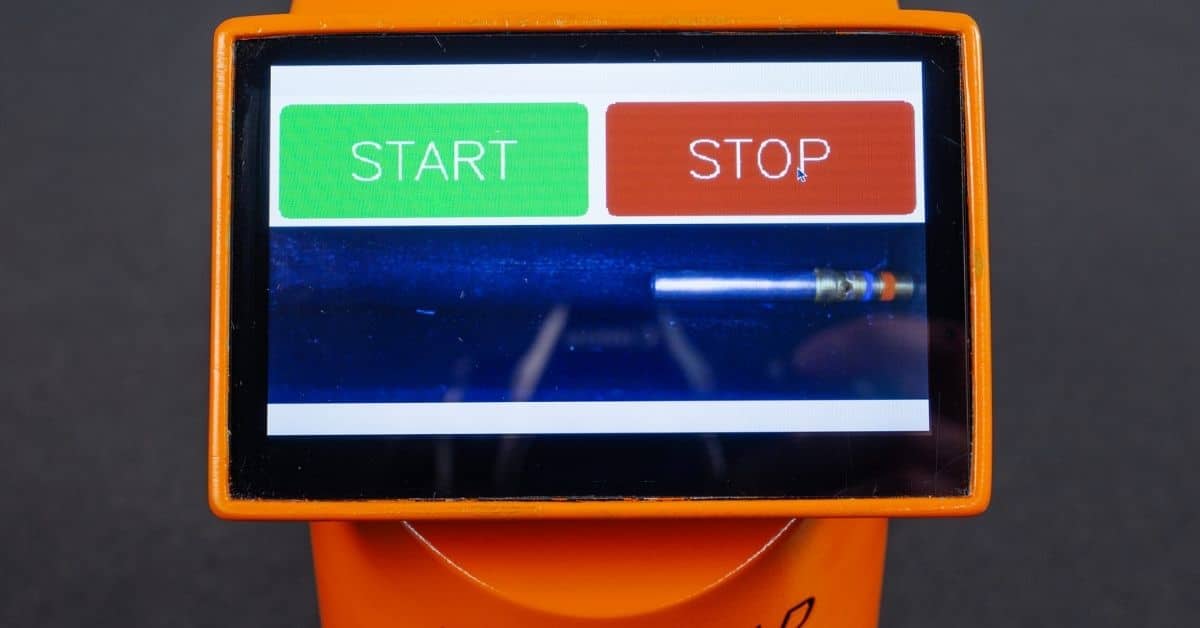
Upon completion of mechanical adjustments, initiate the power sequence and produce a series of 5 to 10 test samples for empirical verification. Utilize a calibrated micrometer to measure the crimp height of each specimen, so the mean value aligns strictly with the engineering specifications.
A comprehensive visual inspection is also necessary to identify anomalies such as “bird caging,” fractured barrels, or insulation compromise. Should any parameters deviate from the technical standard, adjust the crimp height dial or wire stop incrementally. Repeat this testing cycle until the output demonstrates the consistency and precision necessary for high-reliability applications.
Maintaining Calibration for Long-Term Performance
Calibration is not a one-time event; it is an ongoing cycle of maintenance. Keeping your equipment in perfect calibration for longer requires regular care and maintenance.
Regular Inspection and Maintenance Tips
Daily inspections are crucial. Operators should check for debris buildup in the crimping dies, as metal shavings can affect crimp depth. Lubricate moving parts according to the manufacturer’s manual to prevent friction-induced wear.
Common Issues and Troubleshooting
If the machine produces inconsistent crimp heights, check for loose locking nuts on the adjustment dial or worn pivot points in the linkage. If contacts are bending during the crimp, re-evaluate the feed alignment and the wire stop position. For pneumatic machines, check the air pressure; fluctuations in line pressure can cause inconsistent force application.
Calibration Frequency Recommendations
The frequency of calibration depends on production volume. For high-speed machines that run continuously, verify calibration at the start of every shift and after any tooling change. For lower volume usage, a weekly or monthly schedule may suffice. However, always recalibrate immediately after any maintenance, repair, or when switching to a different contact or wire size.
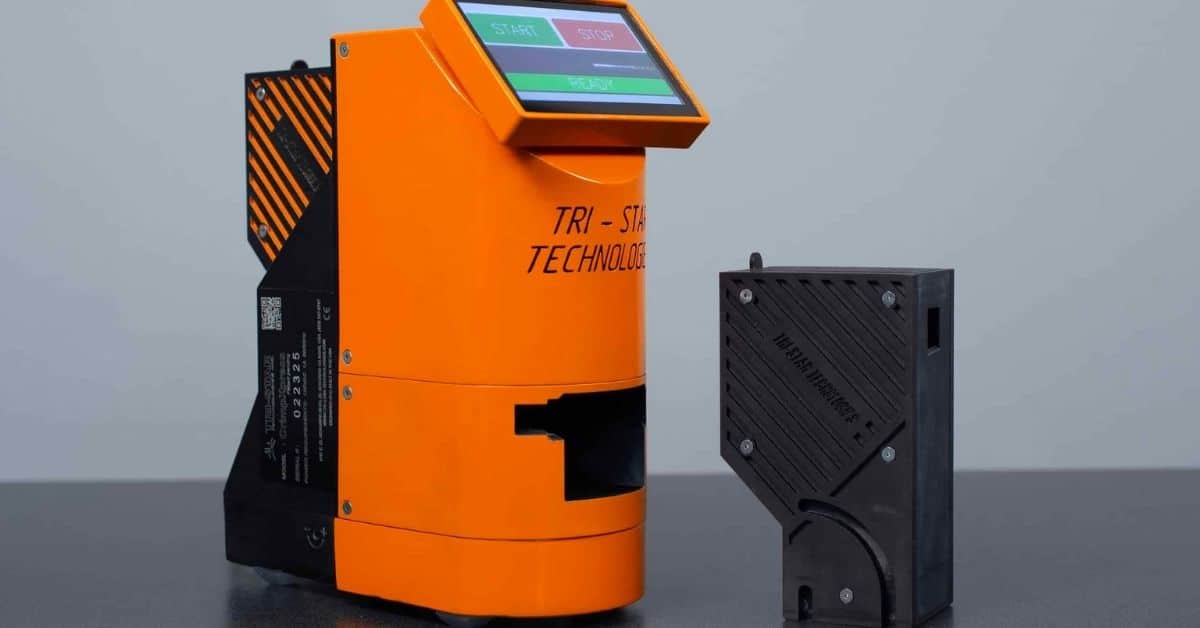
Get Your Automatic Crimper from Tri-Star Technologies Today
The weakest connection defines the reliability of a wire harness. By mastering the calibration of automatic crimping machines, manufacturers guarantee that no weak links leave the factory floor.
Investing time in the proper setup and maintenance of Tri-Star Technologies’ equipment—whether it is the high-speed X Series or the versatile PORTA-TAC—pays dividends in efficiency and reputation. Do not wait for a quality failure to prioritize your equipment settings. Establish a rigorous calibration routine today to secure the consistency and quality your industry demands.